 Coffee Gear Picks
How to Use Fellow Prismo (2026): Setup Guide
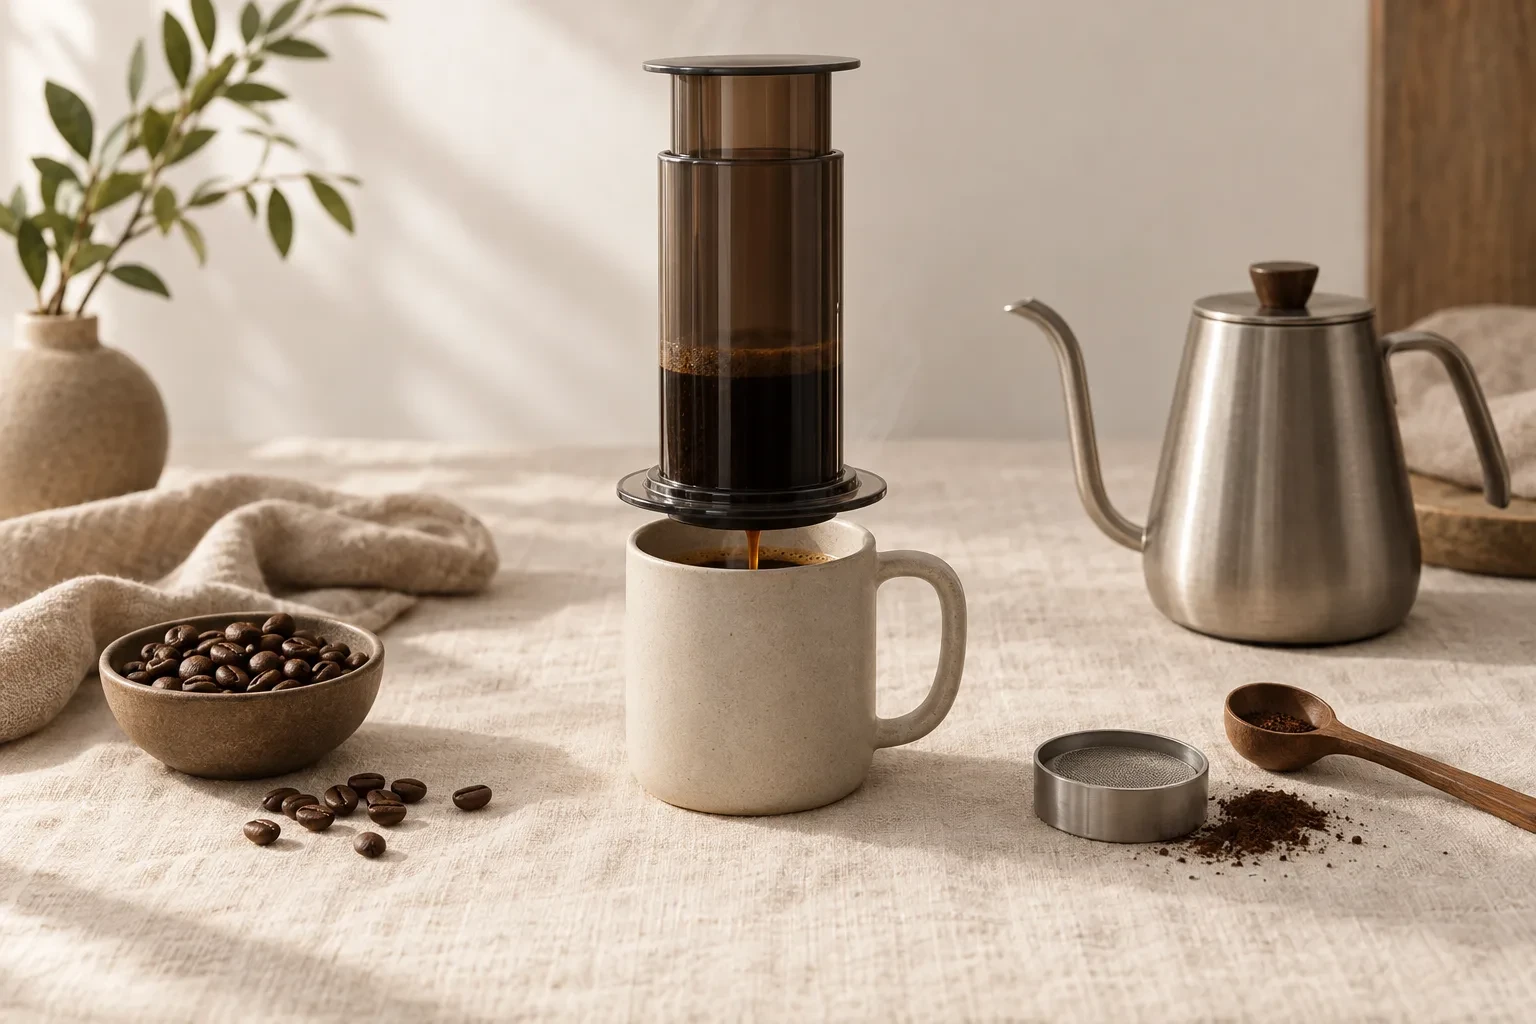
To use Fellow Prismo, replace your AeroPress filter cap with the attachment and its metal filter. Brew upright over a sturdy mug, then press: no balancing act or hot-coffee flip needed.
Prismo setup at a glance
Replace the cap, keep the brewer upright, then plunge
- Seat metal filter
- Twist Prismo onto chamber
- Add coffee and water
- Stir, then steep upright
- Use a sturdy mug
- Press steadily, then rinse
Espresso-style concentrate without flipping a filled brewer
Quick answer
Seat the metal filter inside Prismo, twist it onto the empty chamber, and stand the brewer cap-down on a mug. Add coffee and water, stir, steep, then plunge. Fellow says its pressure-actuated valve enables upright full immersion, meaning the grounds stay submerged until pressing.
Prismo makes espresso-style concentrate, not pump-machine espresso. Our Best AeroPress Espresso Recipe (2026): 5 Methods compares several researched recipe starting points to help you choose a shot style after setup.
What you'll need
Gather an AeroPress Original, Prismo with its supplied filter, coffee, a grinder, scale, kettle, timer, stirrer, and sturdy mug. Check your brewer against Fellow's compatibility list before buying: the current Prismo is for standard-size models such as the AeroPress Original and Clear, but not the AeroPress Go or XL. Do not assume every AeroPress model fits.
Optional gear
Paper filters are optional; the metal filter is not. Still choosing between Prismo, a flow-control cap, or another accessory? Best AeroPress Attachments (2026): 6 Worth-Buying Upgrades gives you a broader upgrade shortlist. You don't need a second cap for this method.
Step-by-step: assemble and brew upright
Assemble everything while the brewer is empty, then follow one recipe without changing several things at once. The concentrate below uses Fellow's Prismo starting recipe: fine coffee, a small amount of boiling water, a vigorous stir, and pressing at one minute. The press-time target is our pacing suggestion, not a pressure measurement.
1. Rinse and seat the metal filter
Rinse and preheat the parts, then empty the warming water. Intelligentsia's Prismo guide recommends this preparation. Place the metal filter inside Prismo with its sealing edge seated flat, not tilted or riding on loose grounds.
2. Choose metal alone or paper above it
Use metal alone first. For less grit, follow Intelligentsia's arrangement: add one rinsed paper filter above the metal, toward the coffee. For cleaner paper filtration versus fuller-bodied reusable options, see Best AeroPress Filters (2026): 6 Smart Picks.
3. Replace the normal cap and stand upright
Set the normal AeroPress cap aside. Twist Prismo onto the chamber's filter end until securely engaged, with its outlet pointing down into a sturdy mug on a level counter. Fellow's full-immersion guide warns against thin glass vessels. Keep the plunger out for now.
4. Add, stir, and wait
Add the weighed grounds, start your timer as you pour, and follow the recipe above. Wet all the coffee during stirring. Leave the chamber upright until the timer reaches one minute; don't tamp the grounds into a packed bed.
5. Press, serve, and rinse
Insert the plunger straight and press steadily while keeping the brewer stable. Stop if resistance feels excessive. Let the parts cool before removing Prismo, then discard the grounds and rinse the filter and cap. Don't accidentally bin the reusable filter.
Common mistakes
Don't chase espresso-machine results by pushing harder. Serious Eats' Prismo review describes a concentrated espresso-style drink and quick workflow, not a replacement for machine espresso. Judge the cup by taste, not by whether foam looks like crema. Never use body weight to overcome a stalled press.
Troubleshooting leaks and off-tasting coffee
Locate a leak before changing the recipe: liquid around the cap points to assembly, while outlet drips call for checking the valve. For taste problems, change only grind or filtration first. These are practical checks, not a diagnosis of a faulty part; ask Fellow about damaged seals or persistent leaks.
Leaking at the rim or outlet
Let everything cool before opening. Clear grounds from the rim, reseat the filter, and check cap engagement. Rinse debris from the valve without poking it with sharp tools. If it still leaks, contact Fellow rather than tightening harder.
Weak, bitter, muddy, or hard to press
For weak concentrate, verify your weighed water before grinding slightly finer. For harsh bitterness or a stalled press, try slightly coarser grounds. For mud, try paper above metal. Keep everything else fixed. Best AeroPress Coffee Grinder (2026): 8 Picks covers options for more repeatable fine-to-medium-fine adjustment.
Frequently asked questions
Do you need to invert an AeroPress with Fellow Prismo?
No. Prismo lets you steep upright because its pressure-actuated valve holds the brew until you press. Attach it before adding coffee or water, and leave the outlet pointing into your mug. There is no filled-brewer flip in this method.
Can you use a paper filter with Fellow Prismo?
Yes. Intelligentsia recommends placing the paper above the reusable metal filter, on the coffee side. Keep the metal filter underneath because its sealing edge is part of the assembly. Rinse the paper and make sure it lies flat before attaching the cap.
Why is my Fellow Prismo leaking?
Check where the liquid escapes. A rim leak calls for checking filter seating, trapped grounds, and cap engagement after the brewer cools. Dripping from the outlet calls for inspecting the valve for debris or damage. Persistent leaks need Fellow support, not extra pressing force.
Does Fellow Prismo make real espresso?
No. It makes concentrated, espresso-style AeroPress coffee, not true pump-machine espresso. Serious Eats describes it as a useful route to a concentrated drink with a quick workflow. Use it for a short coffee or small milk drink, rather than expecting café espresso texture.