 Coffee Gear Picks
How to Use an Espresso Machine Mat (2026): Setup Guide
Place your espresso machine mat on a clean, dry counter, keep every machine foot inside its flat area, and check drip-tray access before brewing.
Want the full researched selection and buying comparison behind this recommendation? See Best Espresso Machine Mat (2026): 6 Picks.
A tidy espresso station in five actions
Measure first, then leave room for everyday cleanup.
- Measure equipment and access
- Clear and dry the counter
- Lay the mat flat
- Set all feet inside the rim
- Remove the tray and tank
- Wipe spills and dry underneath
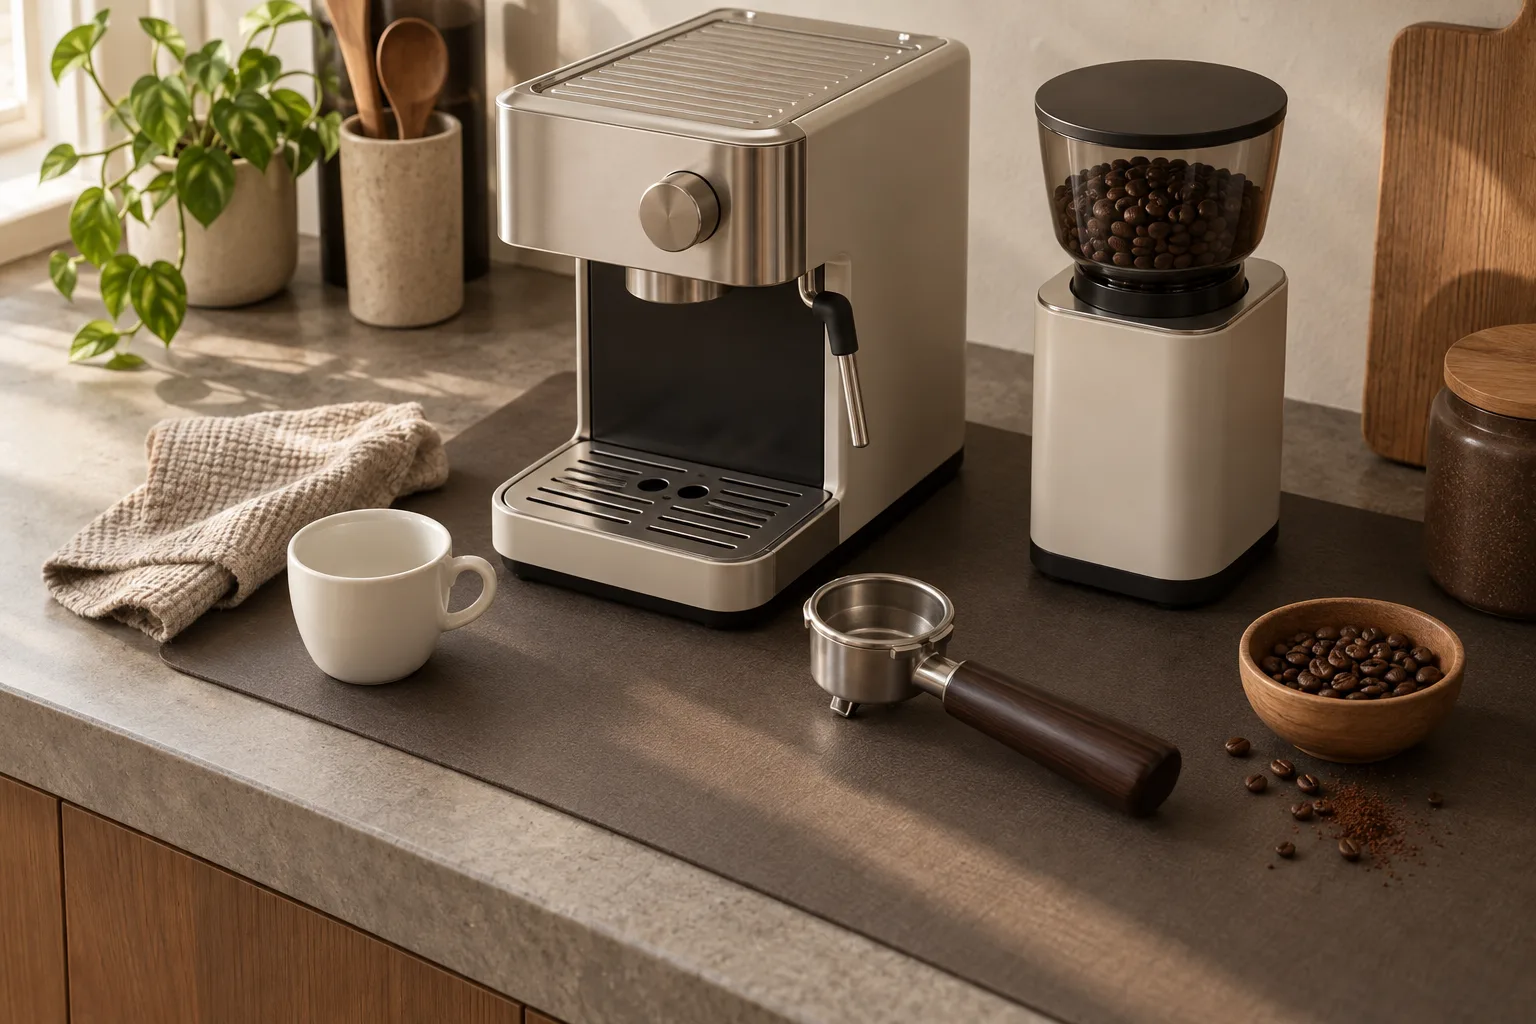
A protected counter with easy tray access and a separate space for tamping.
Do you need a machine mat or a tamping mat?
Use a full mat beneath the machine for counter protection and drips; use a dedicated tamping mat where you press the grounds. Barista-Essentials explains that tamping mats support the portafilter, the handled basket that holds your coffee, during that pressing step.
For an absorbent drying zone, consider AMOAMI, listed on Amazon as PU and rubber. For counter-edge tamping, choose a corner format such as Normcore or watchget. Neither job is automatically covered by a thin under-machine mat.
What should you gather before setup?
Gather your mat, a tape measure, a soft cloth, and the machine manual. You need a dry, level counter and enough space to move the equipment safely. Check the mat’s care label now so you know how to wash it later without guessing.
- A mat sized for your equipment
- Tape measure and machine manual
- Soft cloth and label-approved cleaner
- Optional separate corner tamping mat
For tools beyond the mat, Best Espresso Machine Accessories (2026) covers prep and cleanup essentials.
How do you set up an espresso machine mat?
Measure the station, clear and dry the counter, lay the mat flat, then position your equipment. Finish by removing and replacing the drip tray and tank. The setup should let you brew and clean normally without lifting the machine each time you empty the tray.
1. Measure the footprint and working space
Measure width and depth, including the feet, grinder, and the path of the drip tray. Knot & Style suggests about 2 inches of visible mat around equipment. Treat that as optional spill space, not required clearance; your machine manual takes priority.
2. Clear the counter and place the mat
Switch off, unplug, and let the machine cool before moving it. Get help with heavy equipment rather than dragging it. Wipe away grounds, dry the counter and mat underside, then lay the mat flat with its backing down. No wrinkles or overhanging corners.
3. Position the machine and grinder
Set every foot on the flat surface, not on the raised rim. Keep cords clear of spill zones. Place the grinder where loose grounds land within reach of your cloth, and keep spent coffee contained beside the mat. Best Coffee Grind Knock Box (2026): 7 Picks helps you choose a cleanup bin.
4. Give tamping its own spot
Place a corner tamping mat at a reachable counter edge if that is where you press your grounds. The Normcore Amazon listing specifies a corner design with tamp storage. Keep that prep area separate from pooled rinse water.
5. Check tray access and stability
Pull the drip tray all the way out, refill the tank, and move the steam wand through its normal range. Check the manual’s ventilation clearances. If the tray catches the rim or a foot rocks, reposition the equipment or use a better-fitting mat before switching on.
Which setup mistakes should you avoid?
Avoid stacking mats, treating a raised rim as a drain, or placing hot parts on an unverified surface. A mat is a cleanup aid, not permission to leave standing water. Keep the care label handy, because similar-looking coffee mats can have very different washing instructions.
- Stacking pads: use one flat base rather than building a soft pile under the feet.
- Ignoring pooled water: empty the drip tray and wipe the mat instead of waiting for overflow.
- Assuming heat protection: do not rest hot parts on a mat unless its instructions allow that use.
What if the mat slides or stays wet?
If the mat slides, check for water or grounds underneath and dry both surfaces. If it stays damp, remove the equipment safely and inspect below the mat. If water returns immediately, check the machine and tray rather than blaming the mat. Stop using any setup that feels unstable.
- Mat creeps forward: clean the underside, confirm the backing faces down, and stop pulling equipment across it.
- Counter stays damp: lift the mat and dry underneath before replacing it.
- Tray catches: move the rim outside the tray’s path; never force the drawer over it.
How should you clean the mat after brewing?
Wipe coffee, milk, and water after your brewing session, then wash the mat according to its own label. During a deeper clean, remove it and dry the counter and both sides before replacing it. Waterproof does not mean water cannot get underneath, so check after spills.
The Gorilla Grip Amazon listing allows dishwasher cleaning; AMOAMI’s specifies hand washing only. Let the mat dry fully. A quick surface wipe is useful, but it does not replace cleaning underneath when water has reached the counter.
Frequently asked questions
Can I put a silicone mat under an espresso machine?
Yes, if your machine manual allows it and every foot rests securely on the flat surface. Keep ventilation openings clear and check that the mat does not obstruct the drip tray.
How much mat should show around the machine?
Leave enough space for drips and normal access. Knot & Style suggests roughly 2 inches of visible mat around equipment, but that is optional sizing guidance, not a machine safety requirement.
Should the grinder sit on the same mat?
Only if it fits without crowding the machine. Keep the grinder feet on a flat area and leave space below its outlet to catch grounds when you remove the portafilter.
Is a tamping mat the same as a machine mat?
No. Barista-Essentials explains that a tamping mat supports the portafilter, the handled basket that holds your coffee, during pressing. A full machine mat covers the counter beneath equipment and catches everyday drips.
Can every coffee mat go in the dishwasher?
No. The verified Amazon listings specify dishwasher care for Gorilla Grip, but hand washing for AMOAMI and rinsing for watchget. Follow your own mat’s care label rather than judging by appearance.
Will an espresso mat stop a machine leak?
No. A raised rim may contain a small spill, but it does not repair a leak. If water keeps returning after you empty the tray, follow the machine manual’s troubleshooting instructions.