 Coffee Gear Picks
Best Pour Over Coffee Method (2026): Simple Recipe
Top pick: the 1:16, 20 g-to-320 g three-pour method, because it is easy to repeat and simple to adjust. This is the pour-over recipe to learn first, before you chase fancy spiral patterns or barista folklore.
- Price band: $–$$$ depending on gear already owned
- Weight: 20 g coffee / 320 g water
- Materials: paper-filter cone dripper, paper filter, coffee beans
- Key feature: measured bloom and two controlled pours
Simple Pour-Over Recipe at a Glance
A repeatable five-step cup you can measure, taste, and adjust
- Heat water
- Rinse paper filter
- Weigh 20 g coffee
- Grind medium-fine
- Add 60 g water
- Wait 45 seconds
- Pour to 200 g
- Finish at 320 g
- Assess the cup
- Change one thing next brew
A clear, balanced pour-over routine that is easy to repeat and easy to fix when the cup tastes off.
What is the best pour-over coffee method for most beginners?
The best pour-over coffee method is a measured 1:16 recipe: 20 g coffee, 320 g water, a 60 g bloom, then two pours to 200 g and 320 g. It is not magic. It is just steady enough that you can taste what changed.
This framework lines up with Pull & Pour’s simple pour-over brew framework, which uses a 1:16 ratio and a 20 g to 320 g starting point. Treat it as a baseline, then adjust for the coffee and the cup you prefer.
What do you need before you brew?
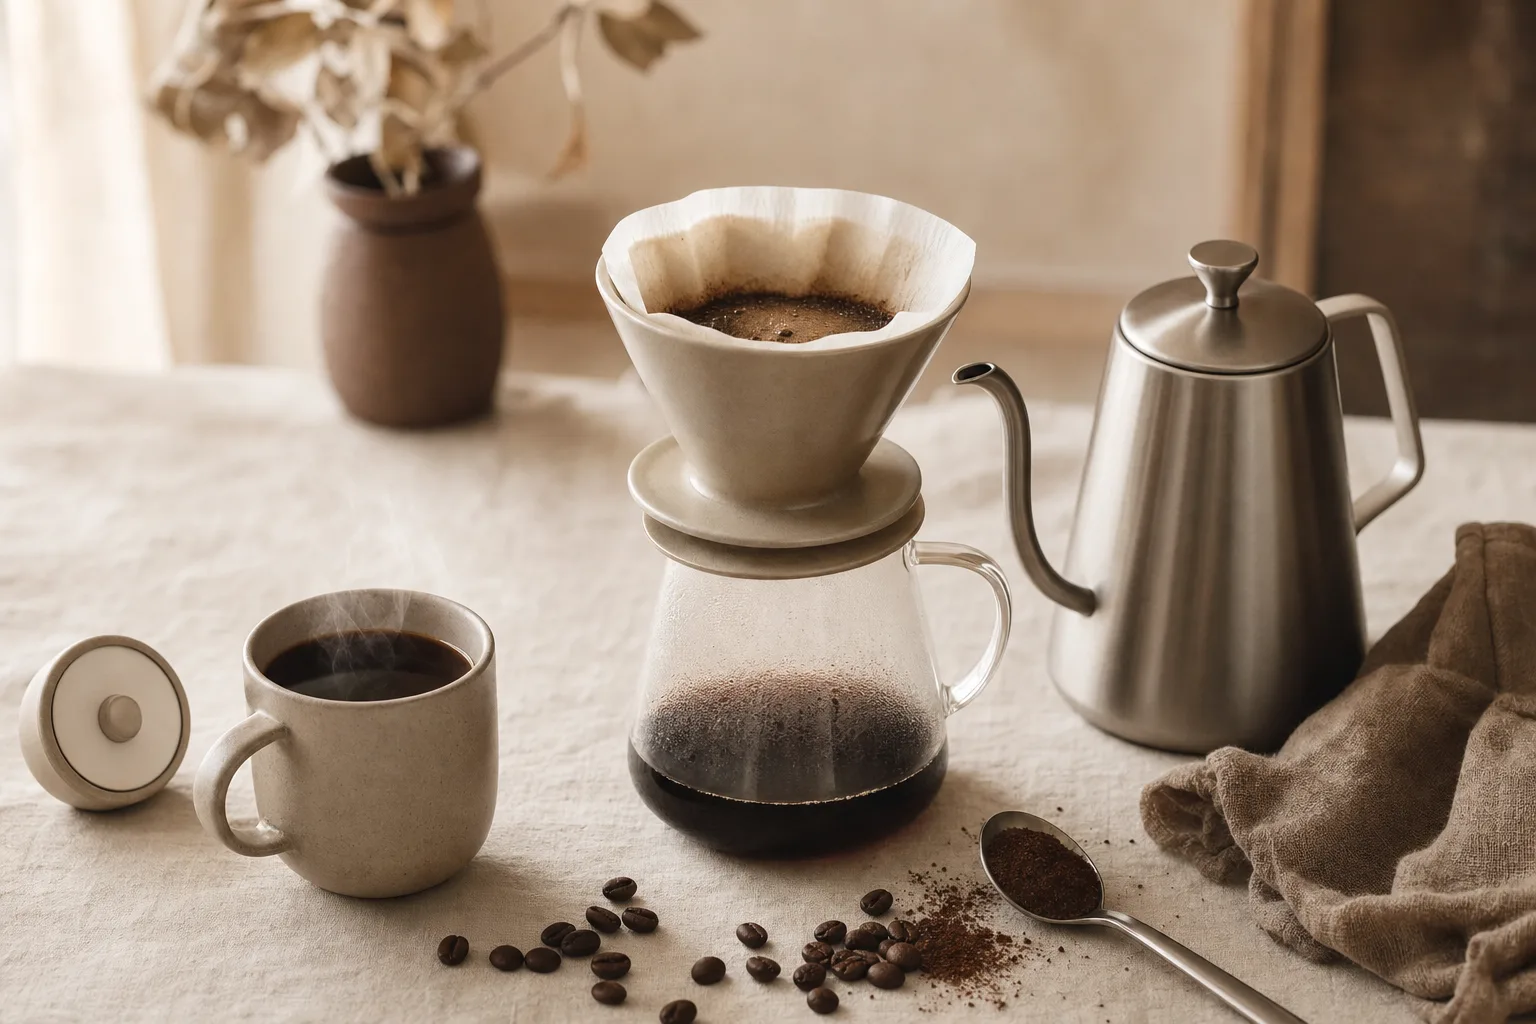
You need a dripper, paper filter, fresh beans, filtered water, a burr grinder, a scale, and a kettle you can pour slowly. The scale and grinder matter most because they make the recipe repeatable. Good gear will not rescue stale beans, but it does remove a lot of guesswork.
- Cone dripper and paper filter: if you still need one, see our pour-over coffee maker picks.
- 20 g whole-bean coffee: start with a medium roast if you want an easier first cup.
- 320 g filtered water: water by weight is more repeatable than relying on mug markings.
- Burr grinder: a burr grinder helps produce a more even extraction than a blade grinder; our pour-over grinder picks can help if blade-ground coffee keeps tasting muddy.
- Scale and kettle: Serious Eats explains why a scale and gooseneck kettle help control brew weight and pouring; a coffee scale with a timer makes the ratio easy to repeat.
How do you brew the 20 g to 320 g pour-over recipe?
Brew it in five moves: prep the filter, weigh and grind, bloom with 60 g water, pour to 200 g, then finish at 320 g. Keep your first few brews deliberately consistent. Consistency gives you a cup you can diagnose and improve.
Step 1: Prep the filter and brewer
Heat your water, place the paper filter in the dripper, rinse it, and dump the rinse water. Set the dripper on a server or mug. Rinsing warms the brewer and helps the paper sit flat; it also avoids carrying dry-paper flavor into the cup.
Step 2: Dose and grind
Weigh 20 g of coffee, then grind medium-fine, about like table salt. Put the grounds in the filter and gently level the bed. Serious Eats’ pour-over science guide supports using a scale so your recipe is not built on scoop-size guesswork.
Step 3: Bloom for 45 seconds
Start the timer and pour 60 g of water over all the grounds. Wait 45 seconds. Alton Brown’s perfect pour-over recipe uses the same 60 g bloom and 45-second pause, making it a useful anchor for this recipe.
Step 4: Pour to 200 g, then 320 g
Pour slowly in small spirals until the scale reads 200 g. Pause for the water level to drop a bit, then pour again until you hit 320 g. Blue Bottle’s pour-over brew guide uses staged spiral pours as well. This is where a gooseneck kettle for controlled pours feels less fussy and more useful.
Step 5: Taste, then change one thing
Let the cup cool for a minute before judging it. Hot coffee can hide detail. If it tastes off, change one thing next time: grind size first, pour speed second, ratio last. That approach keeps the result readable rather than random.
What mistakes ruin this method fastest?
The fastest way to ruin this method is changing too many things at once. If you change coffee dose, grind, water amount, and pour style in the same brew, you cannot tell what helped. Keep the recipe steady until the cup tells you where to move.
- Skipping the scale: your “scoop” may be 14 g today and 18 g tomorrow.
- Using a blade grinder: uneven particles can make the cup taste muddled and make brew time harder to control.
- Pouring too aggressively: use a gentle, deliberate stream instead of dumping in the water at once.
- Judging the first sip while boiling hot: let it cool before you decide it is sour or bitter.
How do you fix sour, bitter, or weak pour-over coffee?
Fix the cup by matching the taste to one small change. As a starting point, sour coffee often benefits from a finer grind, while bitter or dry coffee often benefits from a coarser grind. For a weak cup, try a slightly stronger ratio or fresher beans. Serious Eats covers how grind, pouring, and timing can shape the final cup.
Sour and sharp
Grind a notch finer next time and keep the 20 g to 320 g recipe the same. Sour coffee may taste like lemon peel without much sweetness. If the water ran through unusually quickly, a finer grind is a sensible first adjustment.
Bitter and dry
Grind a notch coarser and pour more gently. Bitter coffee can feel dry on your tongue, like over-steeped black tea. If the brew drained very slowly or the bed looked muddy, coarser grounds are the first variable to try.
Weak or hollow
Use fresher beans first, then try 20 g coffee to 300 g water for a stronger cup. Do not jump straight to a super-fine grind. Weak coffee can also come from beans that smell flat before the kettle even turns on.
What should you read next?
Read the gear guides only where the equipment changes your daily results. A better grinder, a steadier kettle, and a scale make this recipe easier to repeat. A new dripper is useful if your current brewer clogs, cracks, or makes paper filters annoying.
Frequently asked questions
What is the best pour over coffee method for beginners?
Start with the 1:16, 20 g coffee to 320 g water method. It gives you enough coffee for one generous mug, uses easy numbers, and makes problems simple to spot. Once it tastes good, keep that recipe as your home base.
How fine should I grind coffee for pour over?
Start medium-fine, close to table salt. If the cup tastes sour and drains fast, go a little finer. If it tastes harsh or dry and drains slowly, go coarser. Keep the dose and water the same while you adjust.
Do I need a gooseneck kettle for pour over?
You can brew without one, but a gooseneck kettle makes slow pours much easier. Serious Eats points to controlled pouring as one reason these kettles help. Without one, pour gently from a small spout and avoid dumping water at once.
Why do you bloom pour over coffee?
Blooming means wetting the grounds first and waiting before the main pour. This gives the coffee a consistent starting point before the rest of the water arrives. Alton Brown uses a 60 g bloom with a 45-second wait, which fits this simple recipe well.
Can I use this method with any pour-over dripper?
Yes, this recipe works as a starting point for most cone-style paper-filter drippers. Flat-bottom brewers may drain a little differently, so watch the final cup more than the clock. If it tastes balanced, the method is doing its job.