How to Clean Burr Coffee Grinder (2026)
If your coffee suddenly tastes dull, bitter, or a little like cardboard, your grinder is often the culprit. Old grounds hide in the chute and burr chamber, stale oils cling to the hopper, and all of that gets mixed right back into your fresh beans. The good news? A burr grinder is usually easy to clean once you stop overthinking it.
A Simple Burr Grinder Cleaning Routine
Three small habits that keep old grounds, stale oils, and weird off-flavors out of your cup
Step 1 Daily
- Brush the chute exit
- Wipe oily hopper edges
- Run the grinder empty for 1–2 seconds
Step 2 Weekly
- Empty leftover beans
- Brush the upper burr area
- Blow out packed fines
- Check your usual grind setting
Step 3 Monthly
- Open the burr chamber
- Brush threads and corners
- Reassemble carefully
- Run one throwaway dose
Result
Cleaner flavor, steadier grind output, and fewer mornings wasted wondering why your coffee suddenly tastes off.
Quick answer
Clean it in layers. Do a tiny daily brush-out, a better weekly clean, and a deeper monthly chamber cleanup. That rhythm keeps old coffee from piling up and makes your grinder act like itself again.
Think of it like washing a frying pan before yesterday's grease hardens. Leave coffee oils sitting too long and they turn nasty fast. Once that happens, even great beans can taste flat and muddy.
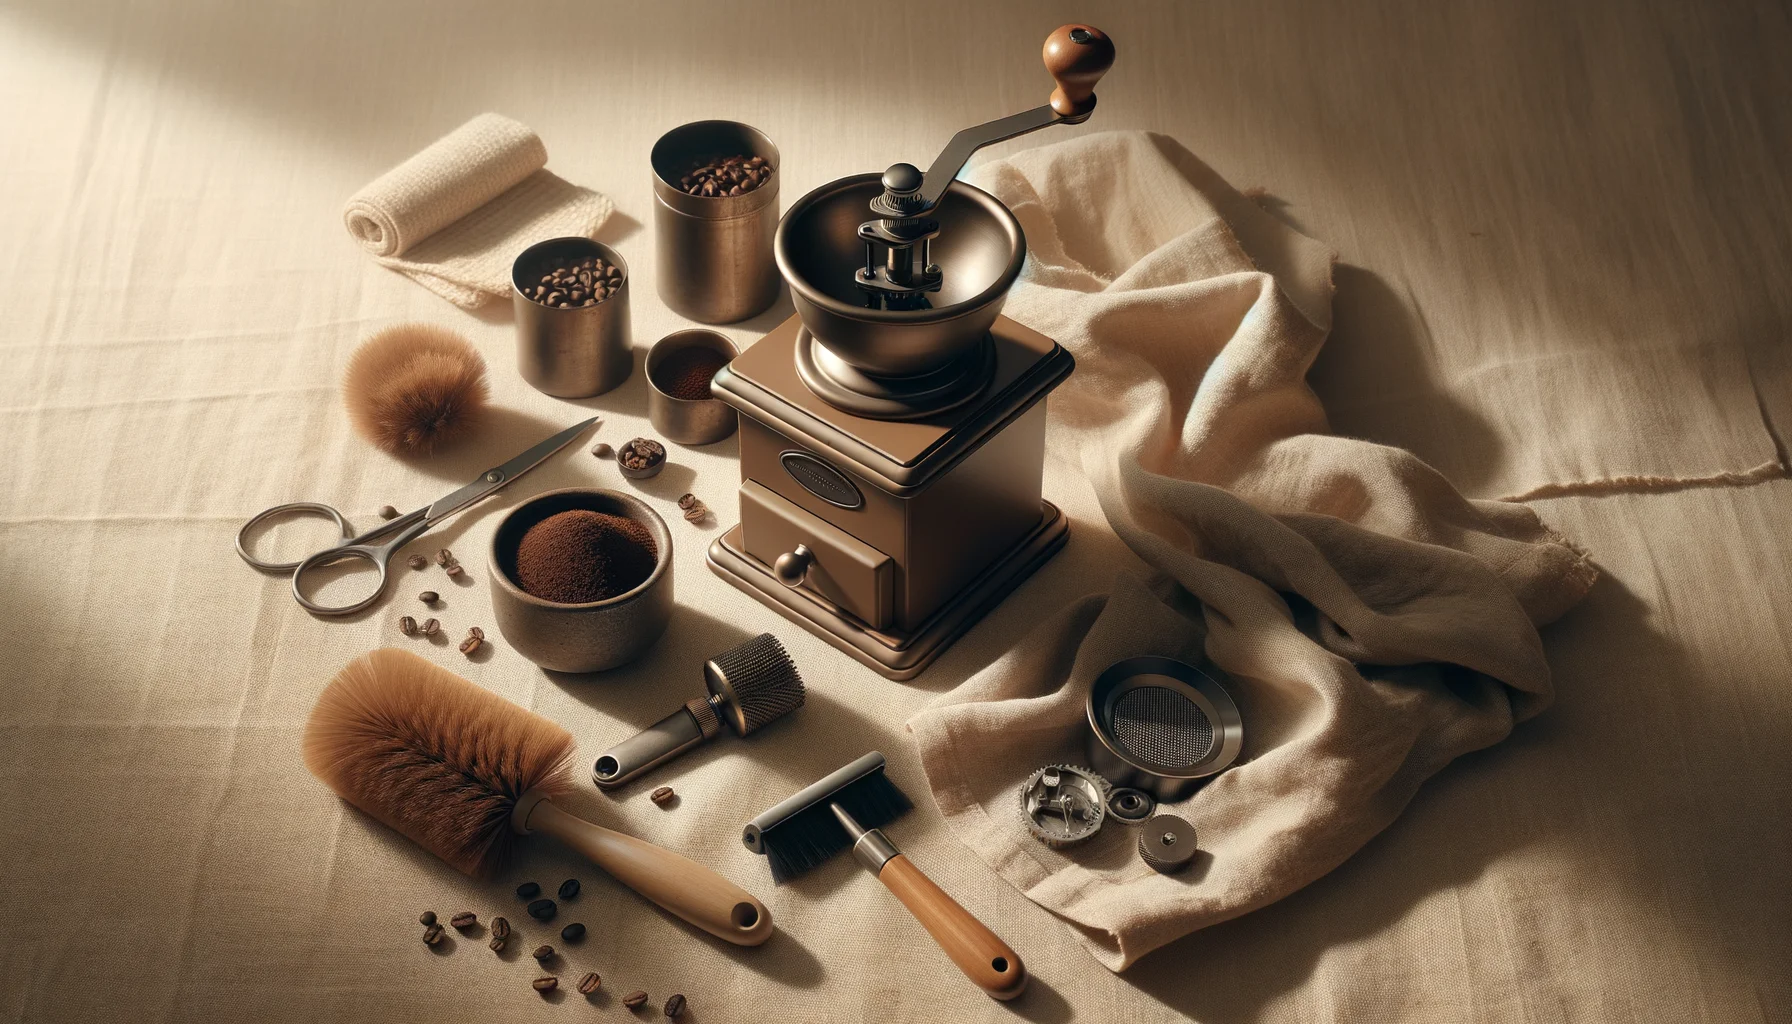
What you'll need
You do not need a toolbox that looks like a bike shop. Most of the time, a soft brush, a dry cloth, and a hand blower are enough. A small bowl helps too, mostly because loose grounds somehow end up everywhere the second you open the grinder.
Before you start, unplug electric grinders. Dry tools only. No water in the burr chamber. No wet wipes in tiny corners. Wet coffee dust turns into brown paste, and that is exactly the kind of mess you are trying to avoid.
If you bounce between espresso and filter coffee, cleaning matters even more. Espresso fines are tiny and clingy, almost like cocoa powder, while coarser filter grounds behave more like coarse sand. When both pile up together, your next brew can taste confused and messy.
| Grinder | Best for | Cleaning feel | Why it helps | |
|---|---|---|---|---|
| Baratza Encore ESP | Espresso + filter homes | Straightforward and familiar | Easy access for regular brush-outs, and a big user base means it is simple to figure out if something feels off after reassembly. | Check Price |
| OXO Brew Conical Burr Coffee Grinder | First grinder upgrade | Beginner-friendly | Simple controls and a roomy layout make it less intimidating when you are doing your first real cleanup. | Check Price |
| Fellow Opus Conical Burr Grinder | Small counters | Compact but manageable | Good pick if you want a smaller footprint without giving up the ability to keep the grind path tidy. | Check Price |
Our Top Picks


Step-by-step: how to clean a burr grinder without making a bigger mess
1. Start with the two-minute daily reset
When you finish brewing, run the grinder empty for a second or two. Pull out the grounds bin. Brush the chute exit. Wipe the hopper lip where coffee oils like to stick. That is it.
This tiny habit does more than people think. Old grounds sitting in the exit path act like yesterday's leftovers in the microwave. They keep hanging around, drying out, and making the next batch taste worse than it should. If you brew daily, this is the part that keeps the funk from building up in the first place.
You will usually notice the benefit in the cup before you notice it in the grinder. Coffee tastes cleaner. The finish feels less dusty. Shots stop jumping around quite as much. It is boring maintenance, sure, but boring maintenance is often what makes coffee taste good all week instead of only on the day you deep-clean everything.
2. Empty the beans before you do anything smarter
For a real clean, start by emptying the hopper. If there are only a few beans left, grind them through. If it is full, pour them into a bowl or airtight jar. Do not try to work around a hopper full of beans unless you enjoy coffee pinging all over your counter.
This is also a good moment to smell the hopper itself. Fresh coffee smells sweet, nutty, maybe a little chocolatey. A dirty hopper smells stale and oily, almost like an old diner pot that sat too long on the burner. If it smells off, your coffee will probably taste off too.
3. Open the top and brush the upper burr area
Most home burr grinders let you remove the hopper or top burr carrier pretty easily. Once it is open, use a soft brush and work slowly. You are not scrubbing a frying pan here. You are lifting out dry coffee dust from the burr edges, chamber walls, and little corners where fines like to pack themselves in.
Those fines are the sneakiest part of the mess. They are light, clingy, and stubborn, almost like cinnamon powder. Leave them sitting there and they slowly mix old flavor into every new dose. That is where you get cups that taste weirdly bitter even when your beans and recipe should be fine.
If your grinder has marks or numbers on the dial, take a quick photo before you remove anything complicated. It saves you from second-guessing yourself later. Not because the grinder is fragile, but because your future self will appreciate not having to remember whether that ring was supposed to sit one notch left or right.
4. Blow out the chute and the annoying hidden corners
After brushing, use a hand blower to puff out the chute and the corners around the burr chamber. A blower is better than your lungs here. Blowing by mouth adds moisture, and moisture turns coffee dust into sticky sludge. Nobody wants that.
Focus on the places your brush cannot quite reach: chute elbows, threads, static tabs, and the lip around the burr carrier. These are the spots that trap old grounds and drip them back into fresh coffee later. If your grinder has been acting inconsistent, this is usually where the nonsense is hiding.
If you want to see whether you actually got it clean, tap the grinder gently over a sink or trash can after you blow it out. If a sad little pile of old grounds still falls out, keep going. The first clean is often the grossest one because you finally see how much was hanging around in there.
5. Wipe surfaces, then put everything back together carefully
Once the dry grounds are gone, wipe the hopper, lid, and outside surfaces with a dry or barely damp cloth, depending on what your grinder maker allows. The goal is to remove oils and dust from the easy-to-reach parts, not to soak anything.
When you reassemble, go slow. Make sure the burr carrier sits properly, the hopper locks in the way it should, and nothing feels forced. If something needs muscle, stop. Coffee gear rarely responds well to brute force.
After everything is back in place, run a small throwaway dose. Just a little. This clears out the last stale bits and lets the grinder settle before your next real brew. It also keeps your first cup from tasting like the dusty end of the cleaning job.
6. Expect one small grind tweak after a deep clean
This catches a lot of people. After you clean the grinder well, your usual setting may behave a little differently. That does not mean you ruined anything. It usually means the old packed fines are gone, so the grind path is flowing more honestly now.
If espresso shots start running a touch fast, go a little finer. If pour over suddenly feels slower than usual, back off a hair. Keep everything else the same so you can tell what changed. Our burr grinder settings for espresso guide helps if your shots feel off, and our coffee brewing ratio guide makes it easier to spot whether the problem is your grinder or the rest of the recipe.
The easy cleaning rhythm to remember
If you hate maintenance, this is the version that keeps things under control without taking over your weekend
Step 1 After brewing
- Run empty briefly
- Brush the exit
- Dump loose grounds
Step 2 Once a week
- Empty beans
- Open the top
- Brush burr area
- Blow out corners
Step 3 Once a month
- Deep clean chamber
- Wipe oils away
- Reassemble slowly
Result
A grinder that tastes cleaner and acts more predictable without turning coffee into another chore.
7. Know when cleaning is enough and when the grinder itself is the problem
Sometimes the issue is not dirt. Sometimes the grinder just retains a lot of coffee or makes cleanup harder than it should. If you feel like you are constantly fishing old grounds out of awkward little tunnels, the design may be fighting you.
That is when it makes sense to look at better options instead of babysitting a grinder you already resent. Our best burr coffee grinder under $200 roundup is a smart place to start if you want a cleaner daily workflow without spending silly money.
Common mistakes
Using water where it does not belong
Water and coffee dust make a muddy paste that sticks to everything. Inside the burr chamber, that is a headache. Keep the actual grinding parts dry unless your maker says otherwise.
Ignoring oily dark-roast buildup
Dark roasts leave more oily residue behind. If you love smoky, shiny beans, great, but you need to clean more often. Otherwise the grinder starts smelling old fast, and the cup follows.
Taking the whole thing apart without a plan
Do not scatter tiny parts across the counter and hope for the best. Work in order. Put screws and little pieces in a bowl. Take a quick photo if you need a reference. Future-you will be less annoyed.
Changing the whole brew recipe right after cleaning
If the grinder behaves differently after a deep clean, change one thing first. Usually that means a small grind adjustment. If you also change dose, ratio, and brew time together, you are just guessing with extra steps.
Troubleshooting after cleaning
The coffee still tastes stale: check the hopper, lid, grounds bin, and chute again. One hidden patch of old oily residue can keep polluting fresh coffee.
Espresso shots run faster than before: that is normal after packed fines are cleared out. Go a little finer and pull another shot before you panic.
Static mess got worse: make sure you actually cleared the chute corners and anti-static path. Dry winter air can make everything clingier too, so you may need slightly more frequent brush-outs.
The grinder sounds strange after reassembly: stop and reopen it. Something may not be seated correctly. Do not force it and hope the noise goes away.
Filter coffee still tastes muddy: use a stable recipe and compare again. If you need a reset point, our best coffee grinder for pour over guide shows what cleaner filter-focused grinders tend to do better.
Easy-clean grinder picks if your current one is driving you nuts
Honestly, some grinders are just nicer to live with. If cleaning your current one feels like extracting splinters with chopsticks, a better layout can save you time and a lot of low-level irritation.
The three picks below all use verified ASINs and cover different types of homes: a flexible all-rounder, an easy starter option, and a smaller upgrade pick for tighter counters.
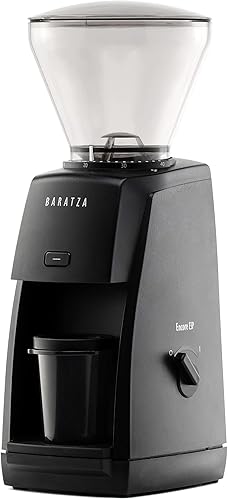
Baratza Encore ESP
This is the one I would point most people toward if they want one grinder for espresso and regular brewed coffee. It is not flashy, but it is approachable. The daily routine stays simple, and that matters more than fancy marketing when you are half awake at 7 a.m.
Check Encore ESP Price on Amazon
OXO Brew Conical Burr Coffee Grinder
If you are moving up from a cheap blade grinder and want something that does not feel intimidating, the OXO makes sense. It is easier to figure out, easier to brush out, and easier to keep from turning into a dusty little coffee cave.
Check OXO Brew Price on Amazon
Fellow Opus Conical Burr Grinder
The Opus is a better fit if space matters and you still want solid range. It is more compact, looks cleaner on the counter, and works well for people who bounce between espresso and other brew styles without wanting a huge machine hogging the kitchen.
Frequently asked questions
How often should I clean my burr grinder?
A quick brush after brew days, a more thorough weekly cleanup, and a deeper chamber clean every 4 to 6 weeks works well for most home brewers. If you use oily dark roasts every day, clean a little more often.
Can I use rice to clean a burr coffee grinder?
No. Rice can stress the burrs and motor, and it does not replace a real brush-and-clean routine. Stick with the method your grinder maker recommends and use dry tools only.
Why does coffee taste better after cleaning the grinder?
Because you are getting rid of old grounds and stale coffee oils. Those leftovers can taste papery, bitter, and flat, and they sneak into every fresh dose until you clean them out.
Do I need to change my grind setting after deep cleaning?
Sometimes, yes. Once old fines are gone, the grinder may run a little faster at the same setting. Usually the fix is small: one click or a tiny nudge.