 Coffee Gear Picks
How to Steam Milk for a Latte: 6 Easy Steps (2026)
To steam milk for a latte, use two stages: a short stretch with the steam tip near the surface, then a whirlpool with the tip just below the surface. That gives you glossy microfoam instead of dry, spoonable foam.
Top pick: a 12-ounce stainless-steel steaming pitcher, because it gives a beginner enough room to create a controlled whirlpool for one latte.
- Price band: $
- Weight: varies by pitcher
- Materials: stainless steel
- Key feature: narrow spout and headroom for controlled microfoam
How to Steam Milk for a Latte
Stretch briefly, texture with a whirlpool, then pour while the milk still shines
- Fill a cold pitcher about one-third full
- Use enough milk for one latte
- Clear condensation
- Start with a clean burst of steam
- Hold the tip near the surface
- Add a small amount of air
- Submerge the tip slightly
- Roll the milk into glossy microfoam
- Remove the wand safely
- Wipe with a damp cloth and purge again
- Swirl the pitcher
- Pour immediately into espresso
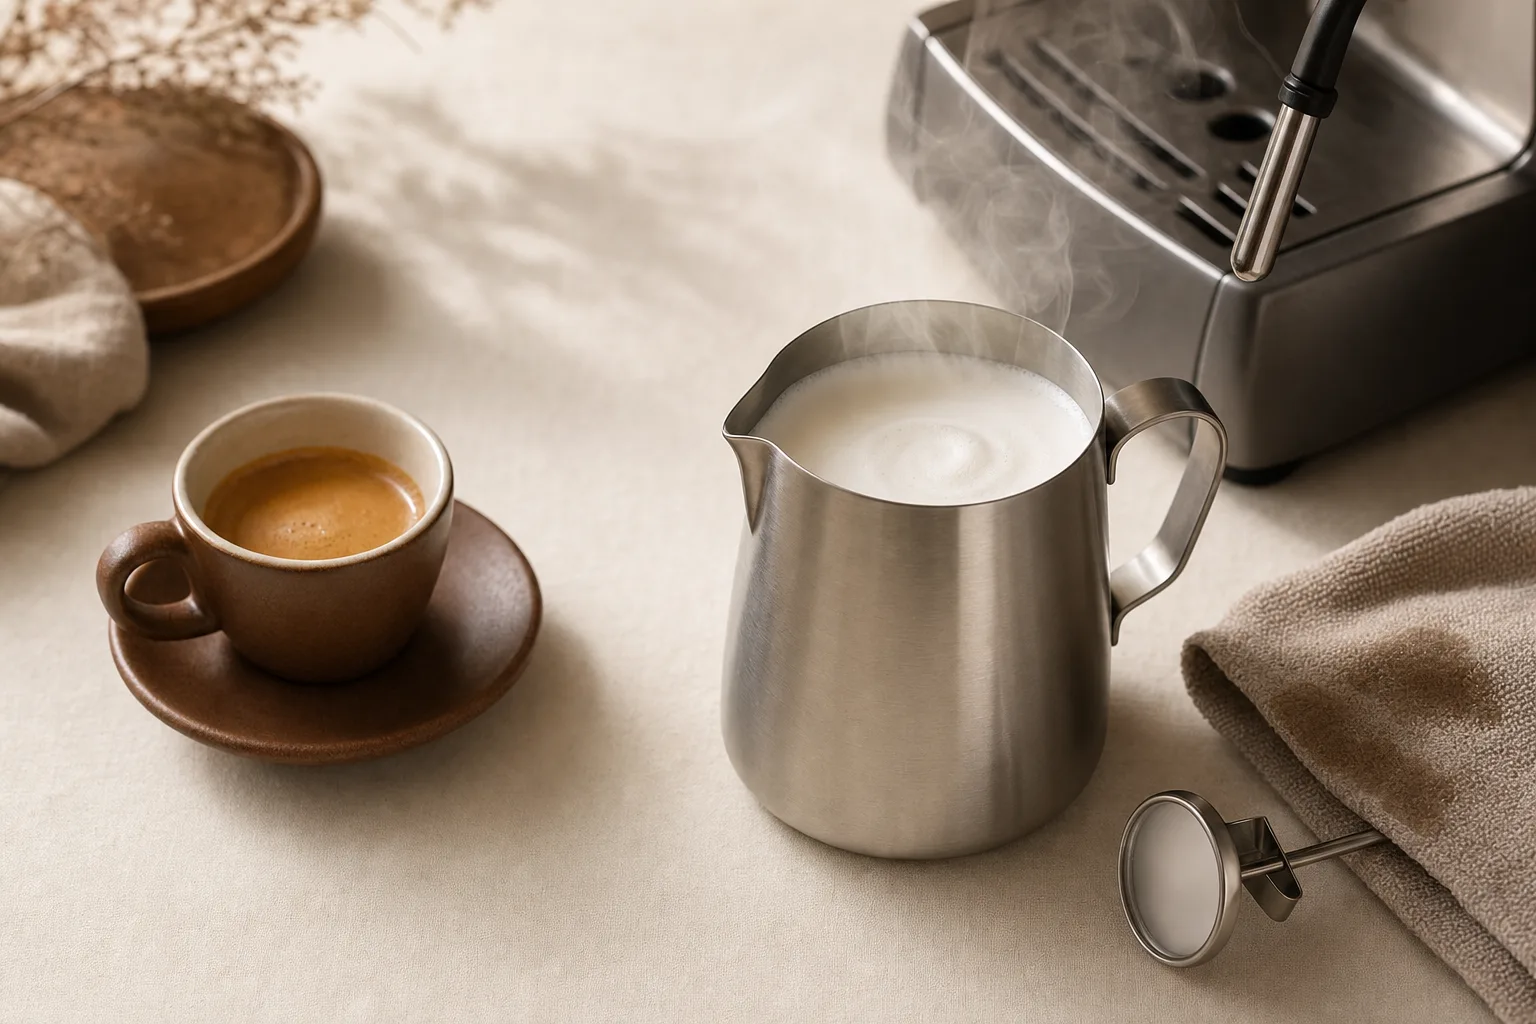
Glossy, pourable microfoam for a latte.
How do you steam milk for a latte quickly?
Fill a cold pitcher one-third full, purge the wand, stretch at the surface for 3–5 seconds, then lower the tip enough to spin the milk into a whirlpool. Stop when it is hot and glossy, wipe and purge the wand, then swirl and pour immediately.
Breville’s “How to steam milk: A step-by-step guide” describes steaming as heating and aerating at the same time. For lattes, the goal is not more foam but finer foam. Methodical Coffee’s “How to Steam Milk for a Latte” similarly emphasizes a small amount of air integrated into a smooth, paint-like texture.
What do you need before steaming latte milk?
You need an espresso machine with a steam wand, cold milk, a 12-ounce stainless-steel pitcher, a damp cloth, and an optional thermometer. Steam output affects how readily the milk rolls: a weak wand can still work, but smaller batches and deliberate tip placement matter more.
- Espresso machine with steam wand: capable steam output makes the whirlpool easier. If your machine struggles to create movement, see our picks for budget espresso machines with steam wands.
- Cold milk: dairy milk is forgiving; plant milks depend heavily on the brand and barista-style formula.
- 12-ounce stainless-steel pitcher: roomy enough for one latte without splashing over the rim.
- Damp cloth: use a clean towel to wipe milk from the wand safely after steaming. Do not grab hot metal.
- Optional thermometer: helpful while learning the feel of hot milk without scorching it.
What are the 6 steps to steam milk for a latte?
Follow this order every time: measure cold milk, purge the wand, stretch briefly, texture with a whirlpool, clean the wand, then swirl and pour. Stretching adds air; texturing breaks that air into tiny bubbles and distributes them through the milk.
1. Measure cold milk
Fill the pitcher about one-third full. For one latte, this leaves headroom for expansion and enough room to position the tip without splashing. Starting cold gives you more time to add air and establish a smooth roll before the milk gets too hot.
2. Purge the wand
Point the wand toward the drip tray and turn on steam for a quick burst. This clears condensation so you begin with steam rather than water. On a single boiler you also have to wait for the machine to come up to steam temperature between the shot and the milk, which is the delay a dual boiler removes by keeping both circuits hot at once. It also makes the next step more predictable, especially on machines that have been sitting idle.
3. Stretch at the surface
Place the wand tip just under the surface and slightly off-center. Turn on the steam and listen for a soft paper-tearing sound for 3–5 seconds. That is the stretch: a small sip of air, not a long, loud frothing session.
4. Create a whirlpool
Raise the pitcher slightly or lower it just enough to place the tip below the surface. Angle the pitcher until the milk spins in one steady direction. This is the part that takes practice, and it is the honest argument for a machine with an automatic frother if you would rather press a button than learn the movement. This vortex folds the added air into the milk, turning visible bubbles into microfoam.
5. Stop, wipe, and purge
Turn the steam off before removing the wand from the milk. Wipe the wand with a damp cloth, then purge it again. KitchenAid’s “How to froth and steam milk” likewise advises wiping and purging after use, before milk can dry on or inside the wand.
6. Swirl and pour
Tap the pitcher once if you see a large bubble, then swirl until the surface shines again. Pour into espresso right away, before the foam separates and stiffens. If the texture improves but the latte still tastes sharp, hollow, or bitter, look next at a properly dialed-in espresso grinder; silky milk cannot correct an unbalanced shot.
What common mistakes ruin latte milk?
Most disappointing latte milk comes from too much air, too little movement, or too much heat. Big bubbles point to a tip held too high; thin milk points to no stretch; a cooked aroma points to overheating. Diagnose the symptom and adjust one part of the sequence next time.
- Stretching too long: creates dry, cappuccino-like foam. Home-Barista’s “Steaming Milk for Cappuccinos and Lattes” explains that excessive foaming makes latte art less workable because the foam separates instead of flowing with the milk.
- No whirlpool: leaves bubbly foam floating on hot milk. Move the tip off-center and just below the surface until the milk rolls.
- Overheating: can make milk taste flat or cooked. Breville recommends using a practical temperature range as a starting point, rather than treating one exact temperature as universal across every milk.
- Waiting too long to pour: lets foam separate. Swirl the pitcher, then pour while the surface still looks shiny.
How do you fix bad steamed milk?
Match the correction to what you see in the pitcher. Bubbly foam needs less air; thin milk needs a slightly longer stretch; poor movement needs a different wand depth or pitcher angle; a cooked smell means stopping earlier next time.
Bubbly foam
Cause: the wand tip was too high or the stretch ran too long. Fix: stretch for only a few seconds, then bury the tip just enough to start the whirlpool.
Thin milk with no foam
Cause: the tip went too deep from the start. Fix: begin closer to the surface until you hear a few gentle tears, then lower into texturing mode.
Overheated milk
Cause: you steamed past the creamy range for that milk. Fix: stop earlier on the next pitcher. A thermometer can help establish a repeatable starting point, while the pitcher becoming too hot to hold is a useful practical cue.
Weak home steam wand
Cause: the machine cannot easily spin a large volume of milk. Fix: use less milk, keep the pitcher cold, and be precise about tip angle. Smaller batches are easier to roll.
Foam separates before pouring
Cause: the milk sat still after steaming. Fix: swirl until glossy, then pour. Level Ground’s “How to Steam Milk at Home” recommends swirling as a finishing move to bring the texture back together.
Frequently asked questions
How long should I steam milk for a latte?
Most single-latte pitchers take about 20–35 seconds once the steam is on. Stretch for only 3–5 seconds, then spend the rest of the time rolling the milk into a whirlpool. Weak home steam wands may need a little longer.
Where should the steam wand tip sit in the milk?
Start with the tip just under the surface and slightly off-center. After a few paper-tearing sounds, lower the tip a little so the milk spins. If the tip stays too high, you get big bubbles instead of silky latte foam.
Can I steam plant milk for latte art?
Yes, but plant milks vary substantially by brand and formula. Barista-style oat milks are often easier to texture because their formulation is designed to foam more reliably. Use the same stretch-then-whirlpool method, but adjust your stopping point to the product rather than chasing one universal temperature.
Why is my steamed milk too foamy for a latte?
You added too much air during the stretch. For latte milk, the surface stretch should be short and quiet, not a long cappuccino-style froth. Keep the tip lower after the first few seconds so the whirlpool folds that air into finer foam.
Do I need a thermometer to steam latte milk?
A thermometer helps while you learn, but it is optional. Use it to establish a repeatable starting range, then learn the pitcher feel: warm at first, then too hot to hold comfortably. Different milks can need different treatment, so temperature is a cue rather than a magic number.