 Coffee Gear Picks
How to Set Up a Plastic Free Espresso Station (2026)
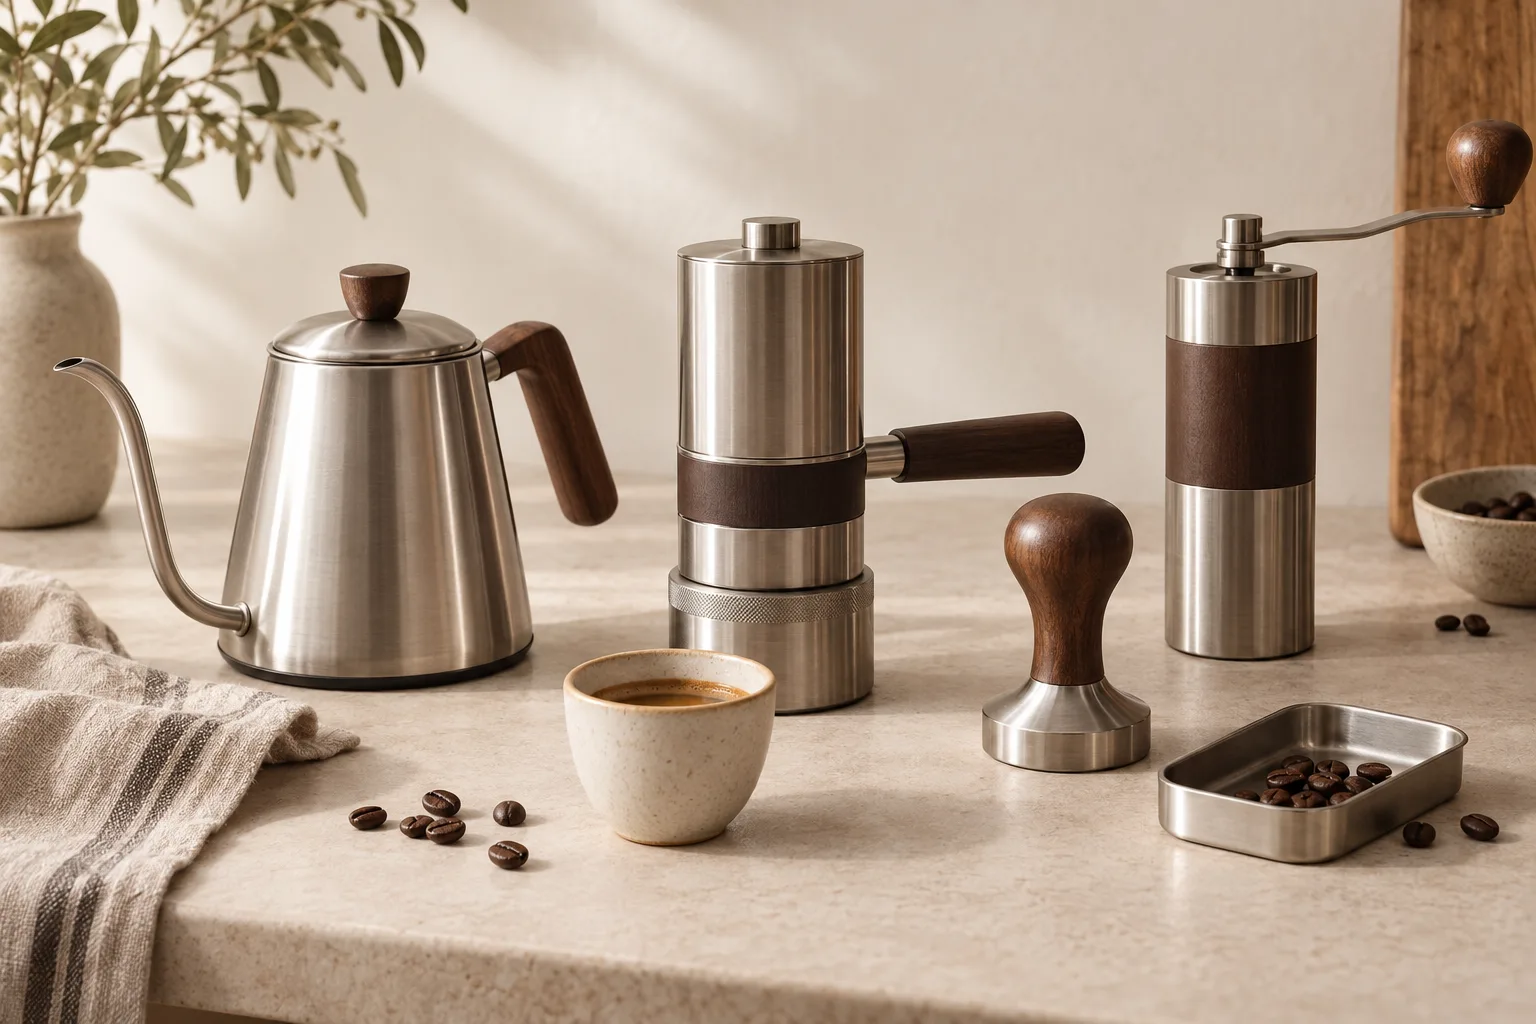
Build around a manual machine with a documented metal brew path, then check everything between your kettle and cup. Aim for less plastic contact, not an impossible promise about every part.
For the full shortlist and material caveats, see Best Espresso Machine No Plastic (2026 Picks).
Build a lower-plastic espresso station
Shopping and setup estimates, not daily brew times
- Check the hot-water path
- Read material caveats
- Require espresso adjustment
- Inspect the grounds path
- Inspect the kettle interior
- Plan preheating and counter space
- Identify seals and tubing
- Record unknown contact parts
A workable station with clear material limits, not a blanket plastic-free promise.
What's the simplest way to start?
Choose the machine first, pair it with an espresso-capable burr grinder, then inspect the kettle and accessories. Manual brewing makes the water route easier to follow. Tom's Coffee Corner distinguishes these simpler manual setups from electric machines with more internal plumbing to verify.
The Flair listing gives an aluminum frame and stainless brew-path parts. Its listed 13.5 in D × 7.5 in W × 11 in H size and the official 7 lb weight help with counter planning. Neither specification certifies every seal, accessory, or packaging component as plastic-free.
What should you gather before setup?
You need a machine, an espresso-capable burr grinder, a kettle, and a repeatable way to weigh beans and brewed coffee. Add a matching tamper and ceramic cup. Keep the manuals nearby: they should guide your dose, water temperature, preheating, and safe pressure release, rather than a generic recipe.
- Scale readable to 0.1 g for repeatable dosing
- Stable counter with room above the lever
- Heat-resistant resting place for removable brew parts
- Manufacturer material descriptions and cleaning instructions
How do you build the station step by step?
Work from the brew chamber outward: choose the machine, choose the grinder, plan hot-water handling, arrange the counter, then audit contact materials. Set up for one repeatable shot before adding milk gear. That keeps your first shopping list focused and your morning routine manageable.
1. Choose the machine
Read the contact-material claim, not just the shiny exterior. “No plastic in the brew path” covers the water-and-coffee route. “Metal-heavy construction” only describes much of the build. “Some plastic components” means you need more detail. For example, the Gaggia Classic Evo Pro, Thunder Black listing names brass, plastic, and stainless steel; it is not a plastic-free choice.
I'd start with the Flair if kettle filling suits you. Read Best Espresso Machine Manual (2026) for pressure control and trade-offs. For a station you pack away, the Flair 2GO listing describes a foldable frame and stainless brew cylinder, not an all-parts guarantee. See Best Espresso Machine Portable (2026) for portable options.
2. Choose the grinder
Require fine burr grinding with small adjustments for espresso. Check the hopper, chute, and grounds cup separately from the metal body. A hand grinder keeps the station compact, but you do the work. Start with Best Hand Grinder for Espresso Under 100 (2026): 5 Picks.
3. Heat and transfer water
Inspect the kettle's interior, lid underside, spout filter, and water-level window. Ask about coatings and seals if the listing is vague. Follow your machine's preheating instructions, then fill directly from the kettle where directed. Keep hot parts on a heat-resistant surface and never open a pressurized chamber.
4. Arrange the station
Put beans, grinder, and scale in a dry prep area. Place the kettle beside the machine with a clear pouring route, leaving lever clearance above. Weigh each dose, load and tamp the grounds the same way, and record brewed weight so you can repeat a shot you like.
5. Audit the materials
Trace water from kettle to chamber, through the basket, and into your cup. Record each contact material as documented or unknown. Check gaskets, valves, tubing, dosing funnels, and storage containers too. Ivy & Fields raises questions about coatings and internal materials; treat those as questions for manufacturers, not proof of a health risk.
Milk drinks are optional. A steam wand, pitcher, or stovetop steamer adds its own seals, contact surfaces, and cleaning routine. Audit that branch before adding it.
What shopping mistakes should you avoid?
Don't buy from an exterior photo or a broad “stainless steel” label alone. Ask for the materials of named contact parts, and save the reply for the exact model you're buying. Never remove a gasket or substitute a random seal just to reduce nonmetal parts.
What if the first shots go wrong?
Check repeatable preparation before blaming materials: use the same dose, brewed weight, and preheating routine. If water barely moves, ease off and adjust the grind rather than forcing the lever. Follow the machine's pressure-release instructions before changing anything or taking the brew chamber apart.
The shot gushes or stalls
Change only the grind next time: finer for a gush, coarser for a stall. Keep your dose unchanged so the result tells you something useful.
A seal leaks
Stop brewing, release pressure as directed, and let parts cool. Check seating and damage against the manual; use the specified replacement, not an improvised fix.
Frequently asked questions
What do I need for a plastic free coffee station setup?
Start with documented hot-water contact materials, then add a suitable grinder, kettle, scale, and ceramic cup. Check accessories separately. A machine claim about its brew path does not prove that your whole coffee station is plastic-free.
Can I build a low plastic espresso setup without replacing everything?
Yes. Audit what you own first, and prioritize parts that touch hot water or coffee. Keep useful equipment when its materials meet your goal; replacing a dry exterior knob will not change the water path.
Which machine is the best starting point?
The Flair 49 PRO is our pick because its Amazon listing explicitly states no plastics in the brew path. That is narrower than saying the entire machine is plastic-free. Check seals and accessories separately before buying.
Does the grinder need to be plastic-free too?
Only if that matches your own goal. A grinder handles dry beans and grounds rather than brewing water, but you can still inspect its hopper, chute, and catch cup. Espresso-capable adjustment should remain a buying requirement.
Is a stainless steel kettle enough?
Not by itself. Ask whether the lid underside, water-level window, spout filter, seals, and interior coatings contain other materials. A steel exterior tells you little about what the water touches inside.
Do silicone gaskets count as plastic?
Silicone is a polymer, but it is not the same material as common rigid plastics. Ask for the exact gasket material and decide whether it meets your goal. Keep manufacturer-specified seals fitted; removing them can cause leaks or pressure problems.