 Coffee Gear Picks
How to Use an Electric Coffee Grinder (2026)
To use an electric coffee grinder, add whole beans, choose a grind range for your brew method, grind only what you need, brew, then adjust after tasting. The whole routine is five habits: weigh the beans, set a starting point, grind, taste, then change one thing next time.
Use an Electric Coffee Grinder Without Guesswork
A simple first-grind routine you can repeat tomorrow morning
- Check the grinder is dry
- Add only whole beans
- Keep the catch cup in place
- Weigh your beans
- Or use the same scoop each time
- Pick the brew-method range
- Use texture, not magic numbers
- Grind only the dose you need
- Brew with the same recipe
- Taste the cup
- Change one setting only
A repeatable grind routine that helps you make more consistent coffee.
What is the quick answer for how to use an electric coffee grinder?
Use an electric coffee grinder by measuring whole beans, setting the grinder to a brew-method range, grinding into the catch cup, brewing, and changing one thing next time. Burr grinders make this easier because the setting is repeatable; blade grinders need short pulses and closer visual checks.
KitchenAid, in “How to use a coffee grinder for a perfect brew,” explains the basic split: burr grinders crush beans between burrs, while blade grinders cut beans with a spinning blade. KitchenAid also describes burr grinders as preferred for more uniform grounds.
What do you need before grinding coffee?
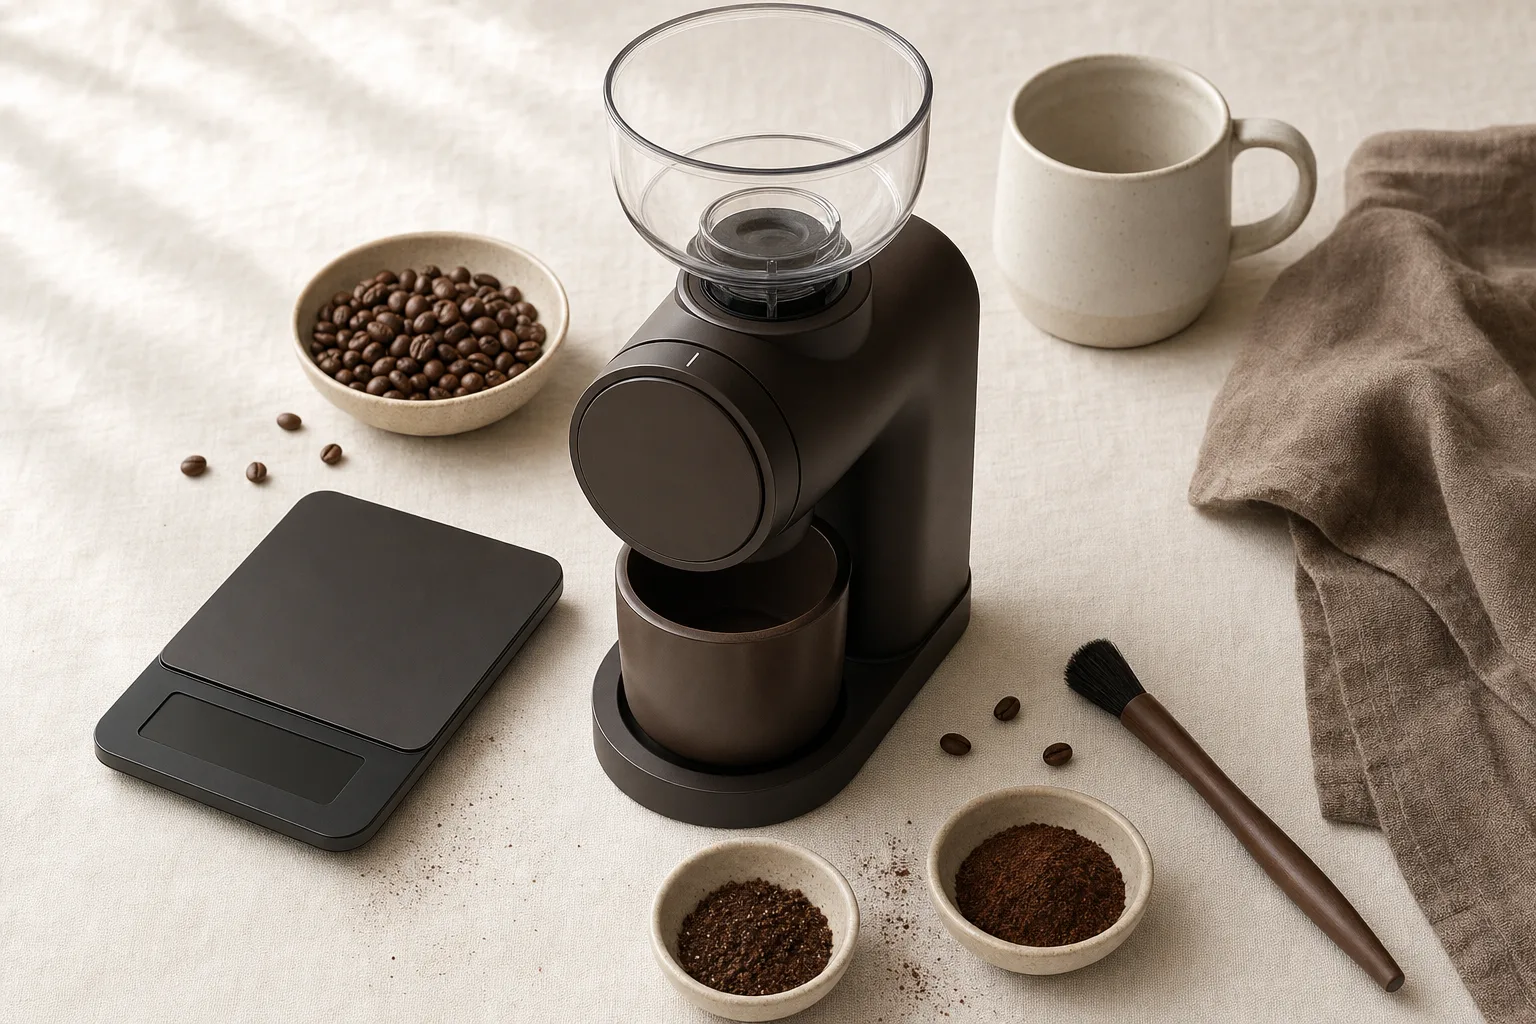
You need whole beans, a clean and dry electric grinder, a way to measure your dose, your brewer, and a soft brush for cleanup. A scale is the most direct way to repeat a dose, but using the same scoop every time is still better than eyeballing beans.
- Whole coffee beans: add beans, not pre-ground coffee.
- Clean, dry electric grinder: check that the hopper, lid, and catch cup are seated properly.
- Coffee scale or measuring scoop: use the same amount each brew so your adjustments mean something.
- Brewing equipment: have your drip machine, pour-over dripper, French press, or espresso setup ready.
- Soft grinder brush: brush out clinging grounds after use.
If you are buying your first burr model, clearly marked settings make repeat brews easier; see our burr grinder picks under $200 for beginner-friendly options. For espresso, smaller setting changes are particularly useful, so look at grinders suited to espresso’s fine adjustment range.
How do you use an electric coffee grinder step by step?
Use the grinder in five moves: prepare it, measure beans, choose a starting grind, grind and brew, then adjust after tasting. There is no universal magic number; repeat the same dose and recipe so the grinder setting is the one variable you change.
1. Prepare the grinder
Check that the grinder is unplugged while you inspect it, dry inside, and free of old grounds in the catch cup. Refit the hopper, lid, and bin as your model’s manual directs. If your grinder has a max-fill line, follow it.
2. Measure your beans
Weigh the beans you plan to brew, or use one level scoop and stick with it. Avoid filling the hopper at random and guessing at the output. A consistent dose gives your later taste adjustments a useful baseline.
3. Set the grind by brew method
Choose a texture range, not a universal number. Grinder labels and numbers are manufacturer-specific, so “12” on one grinder may not correspond to “12” on another. Start here:
- Espresso: fine, similar in texture to fine table salt.
- Pour over: medium-fine to medium; see our pour-over grinder recommendations.
- Drip coffee: medium, similar to regular table salt.
- French press: coarse; see grinders that handle coarse French press settings well.
4. Grind and brew
Add the measured beans, close the lid, and start the grinder. On a burr grinder, let the dose pass through into the bin. On a blade grinder, pulse in short bursts. Abt’s “How to Use a Coffee Grinder” recommends short pulses and, where appropriate, shaking during pulses for a more even result.
Brew with the same recipe you normally use. Changing water amount, brew time, and coffee dose at the same time makes it difficult to tell whether the grind change helped. If strength feels off, our coffee brewing ratio guide can help separate a ratio issue from a grind-size issue.
5. Taste and adjust next time
Taste the cup once it has cooled slightly. If it is sharp and sour, grind a little finer next time. If it is harsh and bitter, grind a little coarser. If it is close, keep the setting and recipe unchanged for the next brew.
What common mistakes make electric grinding harder?
The biggest mistakes are changing too many things, trusting universal setting numbers, overfilling the grinder, and ignoring old grounds. Keep the dose, recipe, and cleanup routine consistent so that a grind adjustment has a clear result.
- Using someone else’s setting number: copy the texture, not the number on their dial.
- Grinding too much at once: grind the amount you plan to brew.
- Running a blade grinder nonstop: use pulses and inspect the grounds between them.
- Skipping the manual: timed modes, removable burrs, hopper capacity, and cleaning rules depend on the model.
How do you fix coffee that tastes wrong after grinding?
Start with the taste symptom and make one small change. Sour coffee often benefits from a finer grind, while bitter coffee can benefit from a coarser grind. Weak coffee may be a grind or recipe issue, and uneven grounds call for a cleaning or technique check.
Sour, sharp, or lemony
Grind a little finer next time and keep the same dose. Sour coffee can also taste thin, but make only the grind adjustment first so you can judge its effect.
Bitter, dry, or harsh
Grind a little coarser next time. Keep the dose and recipe fixed while you assess whether the cup becomes more balanced.
Weak or hollow
Check your dose and brew ratio before blaming the grinder. If the recipe is steady, try a slightly finer grind and taste again.
Uneven grounds or messy dust
For blade grinders, pulse shorter and shake only if your model’s instructions permit it. For burr grinders, brush out the chute and check that the burr carrier is seated according to the manual.
How should you clean up after using an electric grinder?
Clean up by emptying the catch cup, brushing the chute, wiping dry surfaces, and following your model’s manual for deeper cleaning. Do not assume removable burrs, washable bins, or hopper parts work the same on every grinder.
After each brew, brush loose grounds from the exit chute and catch cup. If your grinder smells stale or grounds are accumulating, follow the manual’s deeper-cleaning directions. For a full routine, see our burr grinder cleaning guide.
Frequently asked questions
Do I put whole beans or ground coffee in an electric grinder?
Put whole coffee beans in the grinder, not already-ground coffee. The grinder breaks whole beans into the texture your brewer needs. Re-grinding ground coffee usually creates excessive fines and an uneven result.
What grind setting should I start with?
Start by brew method, not by a universal number. Espresso needs fine grounds, drip and pour over generally use medium to medium-fine grounds, and French press uses coarse grounds. Grinder numbers vary by brand, so use texture as your guide.
How long should I grind coffee in an electric grinder?
On a burr grinder, run the grinder until your measured dose has passed through. On a blade grinder, use short pulses rather than one long run. Exact timing depends on the bean amount, motor design, and your model’s instructions.
Is a burr grinder easier to use than a blade grinder?
A burr grinder is generally easier to repeat because you can return to a marked setting. A blade grinder can work, but texture depends on pulse length and visual checks, so it takes more attention.
Can I leave beans in the hopper?
Follow your grinder manual on hopper storage. For a more repeatable routine, measure the dose before grinding. You then know how much coffee went in and can make one clear adjustment on the next brew.
Why does my coffee taste sour after grinding?
Sour, sharp coffee can indicate under-extraction. Keep the same dose and brew method, then try a slightly finer grind next time. Change one variable, taste again, and avoid adjusting the grind and recipe at once.