 Coffee Gear Picks
How to Use an Espresso Machine (2026): Beginner Steps
Learning how to use an espresso machine is mostly about repeating the same calm routine: heat the machine, grind fresh coffee, tamp it evenly, pull the shot, taste it, then clean while everything is still easy to rinse.
How to Use an Espresso Machine at Home
A simple first-shot workflow you can repeat tomorrow morning
- Fill the reservoir
- Heat the machine
- Check the basket
- Grind fresh coffee fine
- Weigh the dose
- Fill the basket evenly
- Lock in the portafilter
- Start brewing
- Stop by yield or program
- Taste the espresso
- Change grind one step
- Clean the machine
A safer, calmer espresso routine with fewer mystery shots and less sink-bound coffee
Quick answer
Use an espresso machine by filling the water tank, warming the machine, grinding coffee fine, dosing it into the portafilter, tamping level, locking it in, and brewing until your cup reaches the recipe or programmed stop. Taste the shot, then adjust only one thing for the next pull.
Top pick: an espresso-capable burr grinder is the most useful companion to a home machine because adjustable, repeatable grind size lets you correct fast or slow shots.
- Price band: $$–$$$
- Weight: varies by model
- Materials: steel burrs; plastic or metal housing
- Key feature: fine, repeatable grind adjustment
If you do not own a machine yet, start with our beginner-friendly espresso machine picks. If you already have the machine but not the grinder, our espresso-capable burr grinder picks are the more useful upgrade than fancy cups or tamping gadgets.
What you'll need
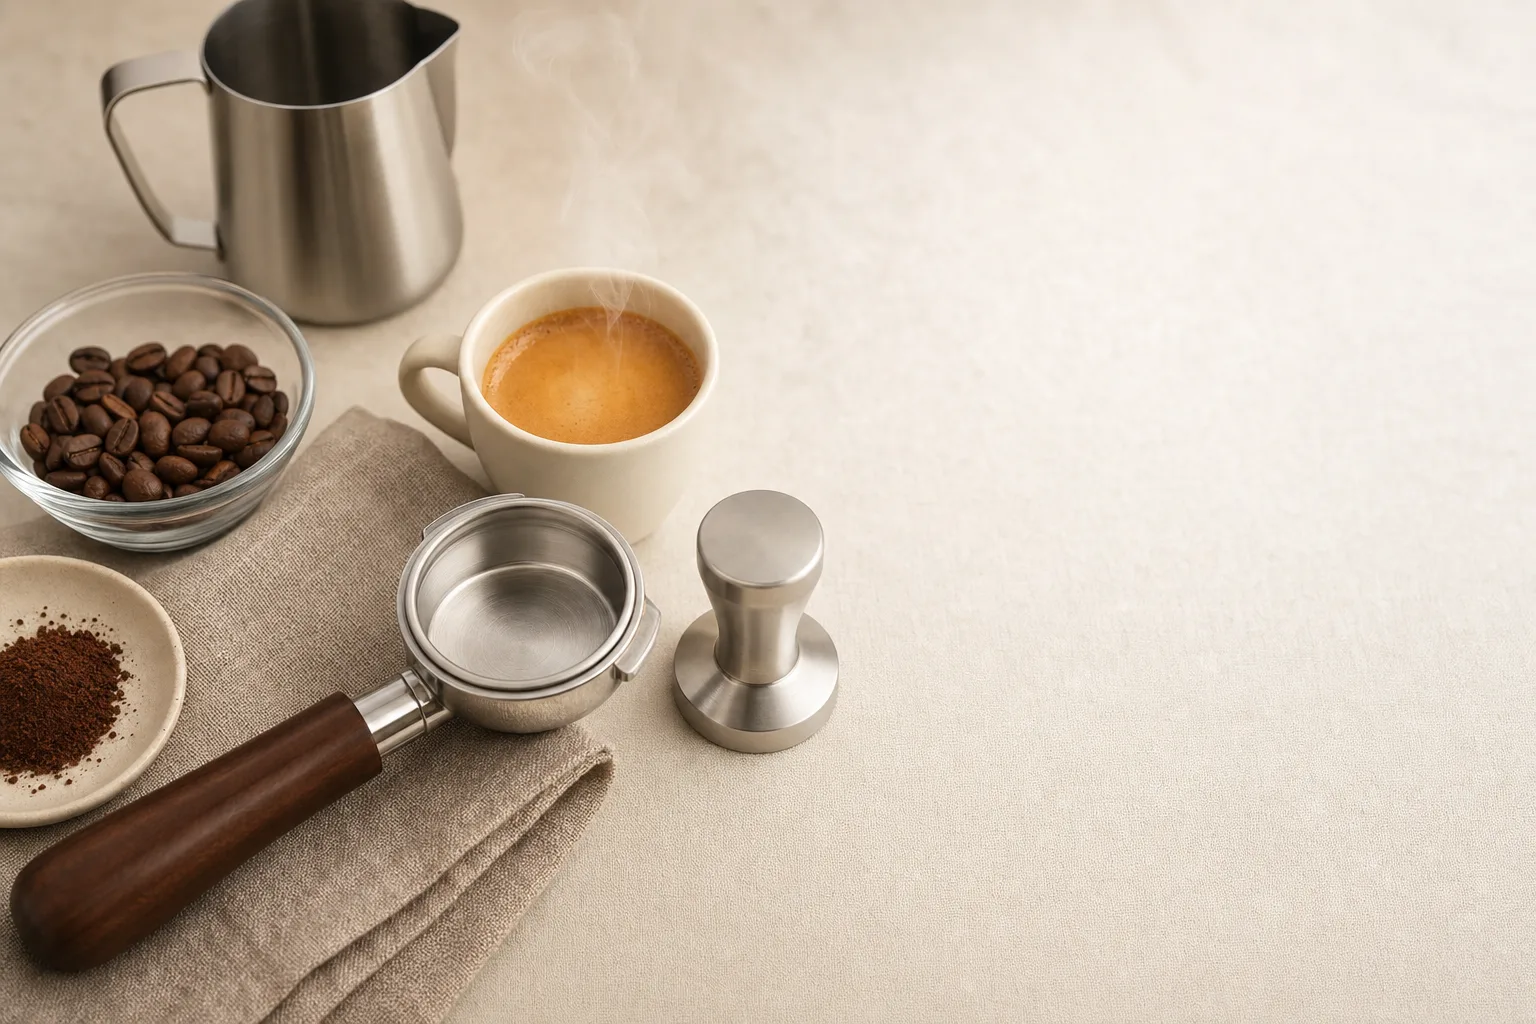
You need the machine, fresh coffee, a grinder that can go espresso-fine, the portafilter, basket, tamper, cup, towel, and ideally a scale. How many of these steps you actually perform depends on the machine, and the easiest machines to use automate several of them outright. The portafilter is the handle that locks into the machine. The basket is the metal cup inside it that holds the grounds.
- Fresh coffee beans: choose coffee you enjoy; a medium roast can be a forgiving place to begin.
- Espresso-capable burr grinder: it grinds beans between burrs and lets you make small, repeatable adjustments.
- Portafilter and basket: use the basket size your machine manual recommends.
- Tamper: this presses the grounds into a flat coffee bed.
- Scale: dose means dry coffee in; yield means espresso out. A coffee scale for espresso makes both repeatable.
- Clean towel: keep one nearby for the portafilter and steam wand.
Step-by-step
Start with a simple recipe, but treat every number as a starting point, not a law. Basket size, coffee age, roast level, grinder, and machine all change the result. Extraction means how much flavor the water pulls from the grounds; your goal is a sweet, balanced cup.
Step 1: Prepare and warm the machine
Fill the reservoir with fresh water, turn the machine on, and wait until it reaches its ready state. This wait is the part people underestimate on a weekday morning, and it is where the fastest-heating machines earn their keep. Lock the empty portafilter in while it warms only if your manual permits it. A warm brew path can help the first shot avoid tasting thin or sharp.
Unic's step-by-step espresso guide explains why sufficient warm-up supports temperature stability. Do not copy commercial-machine timing onto a small home machine, though: follow your model's manual.
Step 2: Grind and dose the coffee
Grind fresh coffee fine, then weigh a dose that suits your basket. Put the grounds into the basket and gently settle them so the surface is reasonably even. Start with the basket capacity and recipe guidance in your machine manual or coffee recipe, rather than assuming one dose fits every basket.
If the next shot gushes, grind finer. If it barely drips, grind coarser. Keep the dose the same while learning, because changing dose and grind together makes it difficult to tell what fixed the shot.
Step 3: Distribute, tamp, and lock in
Level the grounds with a light shake or finger sweep, then tamp straight down until the coffee feels compact. The aim is a flat bed, not maximum force: an even puck gives water fewer easy paths through the coffee.
Wipe loose grounds from the rim, then lock the portafilter into the group head. Start brewing soon after tamping so the coffee does not sit exposed and uneven in the basket.
Step 4: Pull the shot
Place your cup on the scale if it fits, start brewing, and watch the flow and yield. Some machines stop by a programmed button, while semi-automatic machines ask you to stop the shot yourself. Use your manual for volume programming and button behavior.
If your machine offers preinfusion—a short wetting stage before full pressure—you can use it as the manufacturer describes. CoffeeGeek's How to Make an Espresso guide notes preinfusion as an option when a machine has it, not a required move for every beginner.
Step 5: Taste and adjust
Taste the espresso before adding milk. Sour, sharp shots often point to a fast flow or insufficient extraction. Bitter, dry, or ashy shots can point to a slow flow or excessive extraction. A balanced shot should taste sweet and rounded for that coffee.
Change one small thing for the next shot, usually grind size. Finer generally slows the water; coarser generally speeds it up. Keep brief notes for a few mornings and you will stop guessing.
Step 6: Steam milk and clean up
If you want milk, purge the steam wand briefly, place the tip just under the milk surface, then steam until the pitcher is hot but still controllable. Wipe the wand immediately and purge it again after steaming.
Culinary Depot's espresso-machine guide describes the same purge-and-wipe habit for steam wands. For general routine-cleaning context, CoffeeGeek's home espresso starter guide also emphasizes cleanup; your machine manual should set the exact backflush, descale, and detergent rules.
Common mistakes
Most beginner espresso problems come from rushing, guessing, or changing too many things at once. Keep the machine warm, the basket dry, the dose steady, the tamp level, and the cleanup immediate. A modest, repeatable routine makes espresso much easier to improve.
- Brewing before the machine is ready — the shot can taste thin and sharp. Wait for your machine's ready state, and let the portafilter warm when the manual allows it.
- Using a random grind — espresso needs fine adjustment. Coarse pre-ground coffee often produces fast, sour shots.
- Tamping crooked — water may run through the low side first. Keep your wrist level and press straight down.
- Changing everything at once — if you change beans, dose, grind, and yield together, you will not know what improved or worsened the shot.
- Forgetting the steam wand — milk residue dries quickly. Wipe and purge it while it is still hot.
Troubleshooting
Diagnose espresso by symptom, then make one small change and pull again. Fast flow often calls for a finer grind; slow flow often calls for a coarser grind. Taste matters more than chasing one universal shot time, because the basket, beans, grinder, and machine all affect the result.
The shot runs fast and tastes sour
Grind a little finer and keep the same dose. If the coffee sprays or looks pale right away, also check that the basket is evenly filled and tamped flat. For more detail, use our guide to espresso grinder settings.
The shot drips slowly and tastes bitter
Grind a little coarser on the next shot. If the machine sounds strained or almost no espresso comes out, stop the shot rather than forcing it. Let pressure release according to your manual before removing the portafilter.
The puck is soupy after brewing
A wet puck is not always a problem. Some home machines leave more water behind, especially with smaller doses or pressurized baskets. Judge the drink first. If the shot tastes good, do not chase a perfectly dry puck.
The milk screams or makes big bubbles
Start with the steam tip just under the surface, not buried at the bottom. Large bubbles usually mean too much air. Once the milk begins to spin, lower the tip slightly and continue heating gently.
Frequently asked questions
Can I use pre-ground coffee in an espresso machine?
Yes, but it is harder to correct a poor shot because you cannot change the grind. Pre-ground coffee may run too fast or taste flat. Fresh beans ground immediately before brewing give you much more control when you are learning.
How long should an espresso machine heat up?
Use the ready light or display on your specific machine as the rule. Some home machines heat quickly, while heavier machines need more time. Letting the portafilter and basket warm with the machine can help the first shot brew more consistently.
Do I need to tamp hard?
Aim for a level, consistent tamp rather than maximum force. Press straight down until the coffee bed is compact, then stop. A crooked tamp can encourage water to run through one side of the puck and make the espresso taste uneven.
Why does my espresso taste sour?
Sour espresso often means the water did not extract enough from the coffee. Keep the dose the same and grind a little finer for the next shot. If your machine offers temperature adjustments, consult its manual before changing that setting.